About North King Epoxy
Floors Built to Last, Not Just to Look Good on Handover Day
We are the number 1 epoxy flooring company ready to give your floors the shine and safety they need!
Most epoxy floors that fail were never actually bad products. They were good products put down on concrete that had not been prepared to receive them.
That is the problem North King Epoxy was built around. We are a Markham based flooring contractor installing professional grade epoxy, polyaspartic and urethane systems for residential, commercial and industrial clients throughout the Greater Toronto Area. Garages, basements, porches, showrooms, kitchens, warehouses and workshops.
What we do differently is not a secret ingredient. It is the part of the job nobody photographs. We diamond grind every slab we coat. We test for moisture before we commit to a system. We build real thickness rather than a thin decorative layer. And when a job needs more preparation than the client expected, we say so at the estimate stage instead of coating over the problem and hoping.
Our mission
Deliver flooring that combines durability, style and long-term value, and be straight with people about what their concrete actually needs.
Strength. Style. Durability. Those three words sit at the top of our website because they are the order we work in. A floor that looks incredible and delaminates in three winters has failed. A floor that lasts twenty years and looks incredible the whole time is the job done properly.
What we believe about this trade

Preparation is the product
The coating is the easy part. Roughly ninety percent of a floor’s lifespan is decided before any colour goes down.

A quote that seems too cheap usually is
If a price is dramatically below everyone else’s, something is being skipped. Usually the grinding, the moisture testing, or the topcoat.

The right system beats the expensive system
We install three, and we recommend the one that fits your space, not the one with the biggest margin.

Canadian floors have a harder job
Road salt, freeze and thaw cycles, hot summer tires and cold slabs are all part of the brief here. We build for that.
Our Six Step Epoxy Installation Process

Free inspection and written estimate
We come to your property and actually look at the slab. We check concrete moisture levels, assess existing damage, cracking and previous coatings, and look at how the space is used and where the traffic goes. You get a detailed written estimate based on what we found, not a rough number quoted over the phone from a square footage figure.

Surface preparation
The longest and most important stage. We clear and mask the space, then diamond grind the entire slab. Grinding removes old sealers, paint, oil contamination and previous coatings, and cuts a proper mechanical profile into the concrete so the coating has something real to bond into. Cracks, holes, pitting and spalled areas are then filled and repaired.

Primer application
A professional grade primer is applied to lock into the freshly ground profile. The primer does two jobs. It maximises adhesion between the concrete and the coating above it, and it provides the first line of moisture protection. We use a moisture vapour barrier epoxy in regions of high humidity.

Epoxy coating
The coloured base coat goes down under controlled conditions, with attention to temperature and humidity because both affect how the resin flows and cures. This is the stage where your chosen finish is built. Vinyl flake or quartz aggregate is broadcast into the wet base, or metallic pigment is worked through it, depending on your system.

Protective topcoat
A durable polyurethane or polyaspartic clear topcoat seals the finish in. This layer takes the wear, the UV exposure and the chemical contact so the decorative layer underneath does not have to. Polyaspartic is the more advanced option. It cures faster, stays flexible in cold temperatures and resists yellowing from sunlight.

Curing and final inspection
We walk the finished floor, check the coverage and finish, and hand the space back with clear instructions. Most projects are complete in two to three days on site. Your floor is walkable in about 24 hours and ready for vehicles in three to seven days.
The Invisible Problem: Moisture Vapour Transmission
What is actually happening
Concrete looks solid, but it is porous. Ground moisture is constantly moving up through a slab and evaporating off the surface. On a bare garage or basement floor you never notice, because the vapour escapes into the air.
Seal that surface with a coating and the vapour has nowhere to go. It collects at the underside of the coating and builds pressure. Given enough time, that pressure lifts the coating off the concrete. You see it as bubbles, blisters, cloudy patches, or whole sheets letting go at the edges.
The frustrating part is that the coating itself is usually fine. The bond failed from underneath.
Where it shows up in the GTA
What we do about it
The Products and Standards Behind Our Floors
Products we use
The preparation standard we work to
What we do about it
- Covers peeling, bubbling & delamination
- Backed by the same crew who installed your floor
- Written documentation handed over at final walkthrough
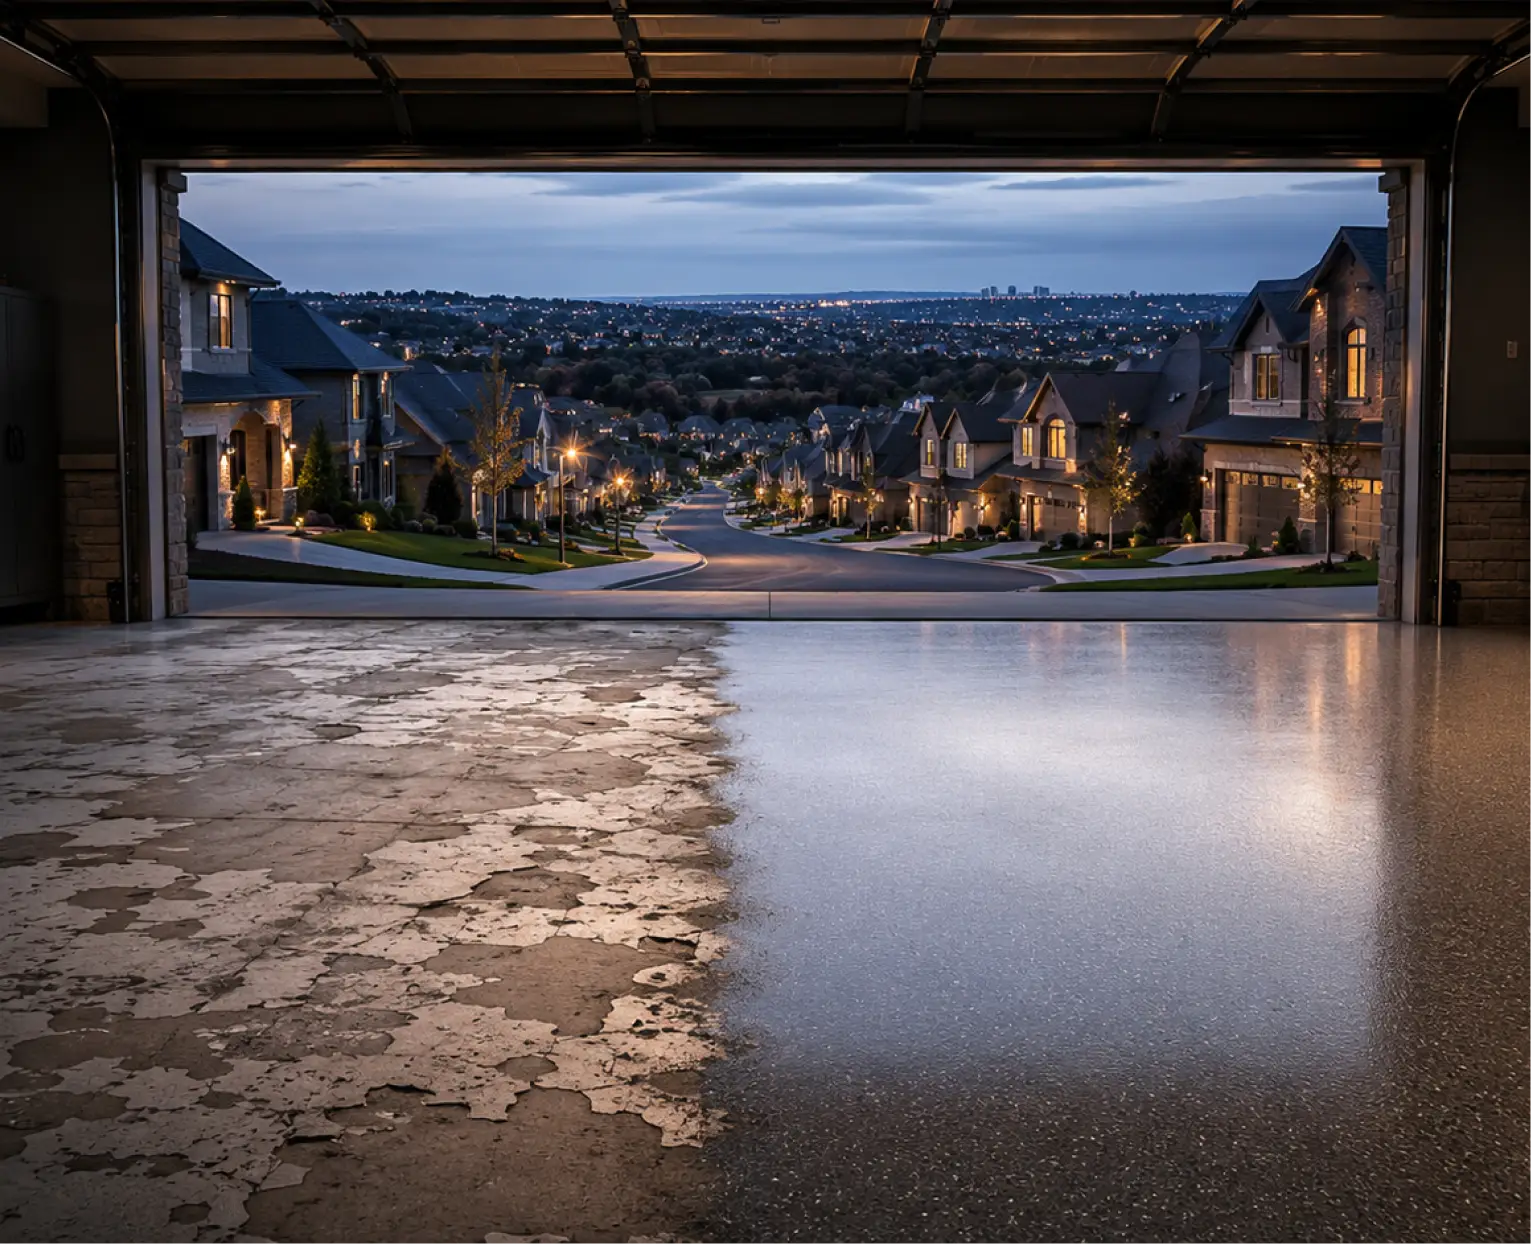
Before & After

Markham


What GTA Homeowners Say

Mark R.
Richmond Hill, ON

Priya S.
Markham, ON

Dave K.
Vaughan, ON
Common Questions
What makes North King Epoxy different from a cheaper contractor?
Why do you diamond grind instead of acid etching?
What is a moisture vapour barrier, and will my floor need one?
What products do you use?
Will grinding fill my house with concrete dust?
Do you work on commercial floors, or only homes?
What is CSP 2 to 3 and why does it appear in your quotes?
What do I need to do before you arrive?
Book Your Free Inspection and Estimate